
 Business License

How Can Product Photos Prevent Misunderstandings in Shovel RFQs?
How Can Product Photos Prevent Misunderstandings in Shovel RFQs?
Even a careful written spec can leave two people picturing two different tools.
A photograph closes that gap, because both sides then look at the same blade and handle.
This guide covers which shots to take, how to take them, and how to file them with the order.
A Shot List That Covers Every Disputed Detail
Start with a top view, shot from directly above the blade.
Lay a steel rule across the widest part, so the width reads inside the image.
Take a second top view of the bare blade, with the shaft out of the frame.
Turn the tool over and shoot the back, because a socket joint differs from behind.
Add a side profile that shows the angle between blade and shaft.
Shoot the blade face straight on, so any dish or curve becomes obvious.
Close in on the socket from both sides, where blade steel meets the shaft.
Take one close frame of the sharpened edge, lit so the bevel shows.
Photograph the top of the grip, since handle shape changes how a user pushes.
Finish with the whole tool on a kitchen scale, so the display shows unit weight.
Set the tool on dark cloth when the blade is polished steel, so the outline stands out.
Shoot one frame with the blade partly buried in dry sand, which shows the dish.
A set like this says more about a shovel than a page of written notes.
Avoiding Lens Distortion and Poor Light
A phone held close to a long tool bends straight lines and makes a blade look wider.
Step back, use the normal lens, and crop the frame later instead of zooming in.
Avoid a wide angle setting, because it stretches whatever sits nearest the lens.
Keep the camera level with the middle of the tool, never tilted over one end.
Rest the phone on a box if your hands shake, because a small tilt hides blade thickness.
Turn off the phone flash, since direct flash flattens the dish and kills the edge bevel.
Place the tool on a plain sheet or a bare bench, with no clutter around it.
Use daylight from a window, or two lamps at the sides, to soften hard shadows.
Choose a light grey background, because a pale blade vanishes on white paper.
Keep the whole tool inside the frame, grip included, from end to end.
A crop that cuts off the handle leaves the factory guessing at shaft length.
Shoot three frames of every view, keep the sharpest one, and delete the rest.
Wipe the blade first, because dust and fingerprints hide a scratch or a dent.
Adding Measurements, Arrows and Sample Codes
A ruler in the picture proves size, but an arrow makes the point hard to miss.
Draw thin arrows on the image and write the millimetre figure beside each one.
Mark blade width, blade length and blade thickness on the blade face itself.
Record the shaft run, from grip top to the point where the metal socket begins.
Write the unit weight in grams next to the scale display, not in a separate message.
Add the sample code or batch number in the corner of every frame you send.
Print the same code on the cartons, so a photo can be matched to a shipment.
Keep annotation light, because heavy text covers the very detail it describes.
Save the marked copy as a new file, and keep the clean original beside it.
Write the ruler reading in the caption too, in case the arrow text prints small.
Keep one frame with no marks at all, so the factory sees the tool as it really looks.


Video, Sample Comparison and Photo Filing
A short video answers what still photos leave open, such as how a blade flexes.
Thirty seconds is enough: lay the tool down, measure it, then press the edge.
Show one stroke in sand or soil, so a dish or a flat face is plain to see.
Hold the phone steady and speak the measurements while the ruler stays in view.
Save video clips with the model code in the file name, so a search finds them.
Send the clip through a service that keeps the original quality, not a compressed chat copy.
When the sample arrives, photograph it again in exactly the same positions.
Compare the two sets side by side on one screen, feature by feature.
Measure the new sample with the same rule and the same scale as before.
If a number has shifted, raise it in writing before the bulk run begins.
File every photo under the model code, with the date and the factory name.
Attach the approved set to the purchase order, so the reference travels with the deal.
A folder holding photos, spec and sample notes settles most disputes in minutes.
What to Write in an RFQ About Photos
Ask for the standard view set before sending any specification to a new supplier.
Name the views you want: top, back, side, socket, edge, grip top and weight.
Request a ruler in every frame, with the full tool inside the picture.
State the file format you can open, such as phone photos or one PDF sheet.
Say that each photo must carry the sample code and the measurement arrows.
Ask who takes the photos, because a sales office may not hold the sample.
Ask the factory to keep the approved set on file for the next production run.
Request fresh photos whenever blade thickness or handle material changes.
Request a new set after any change of die, steel batch or handle workshop.
Put your photo requirement in the RFQ, so every supplier answers the same way.
Compare quotations only after the photo sets match the spec you wrote.
Say that the photo set forms part of the agreed specification, not an extra favour.
One clear photo clause in the RFQ saves weeks of email questions later.
Recently Posted
-
Documents Needed to Bid for a Hoe Supply Contract
October 16, 2026Documents Needed to Bid for a Hoe Supply ContractTender submissions are judged on documents before they are judged on price.A stro Read More
 -
Hoe Specifications in Aid and Emergency Tool Kits: What Tenders Require
October 16, 2026Hoe Specifications in Aid and Emergency Tool Kits: What Tenders RequireAid and emergency programs buy hoes by the tens of thousand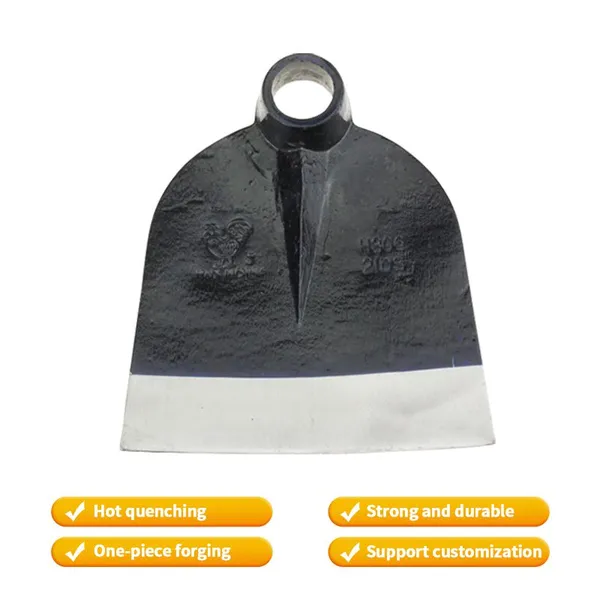 Read More
 -
Winning Hoe and Hand Tool Tenders: A Supplier's Guide to Public Bids
October 16, 2026Winning Hoe and Hand Tool Tenders: A Supplier's Guide to Public BidsTender business looks attractive because volumes are large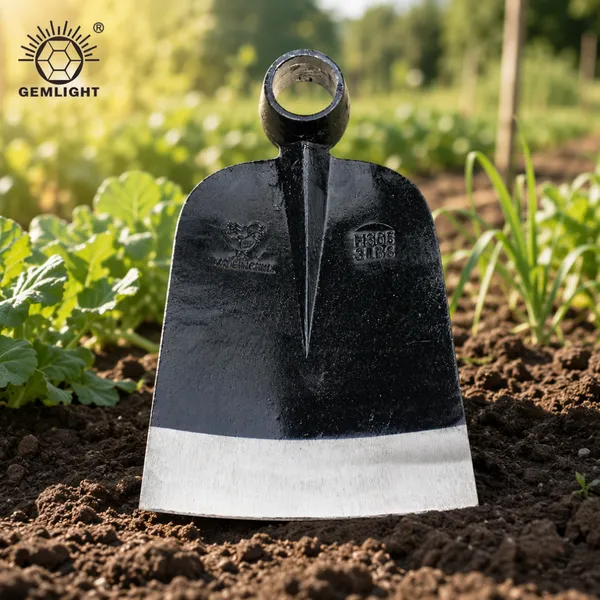 Read More
 -
How to Pack Hoes for Sea Shipment: Rust Prevention and Damage Control
October 16, 2026How to Pack Hoes for Sea Shipment: Rust Prevention and Damage ControlA hoe can pass every inspection at the factory and still arri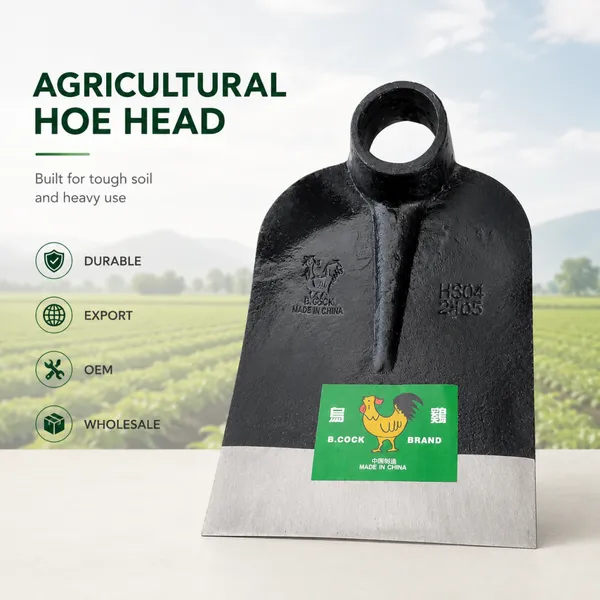 Read More

Contact Us
Recommended Products
-
 Heavy Duty Cane Knife Machete for Wholesale Buyers Factory Direct Export for Rural Agricultural Projects Durable Hand ToolNegotiableMOQ: 1200 Pieces
 -
Agricultural Hoe Head Garden Rail Steel Tool for Tough Soil Cheap Price Hand ToolsUS$ 1.07 - 1.27MOQ: 1200 Pieces
-
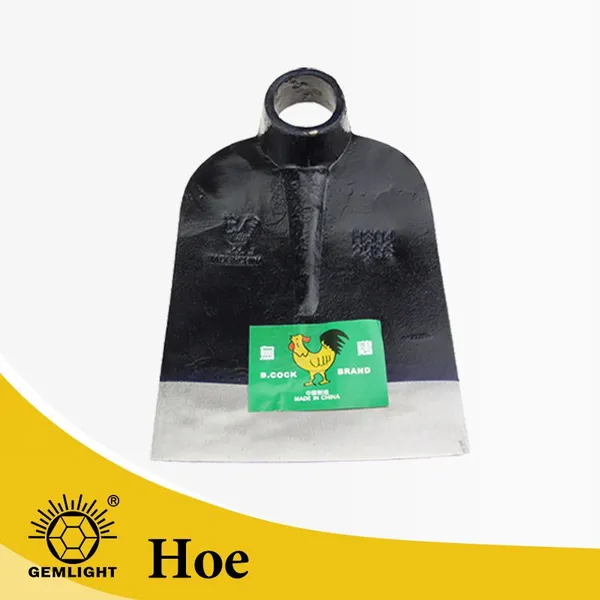
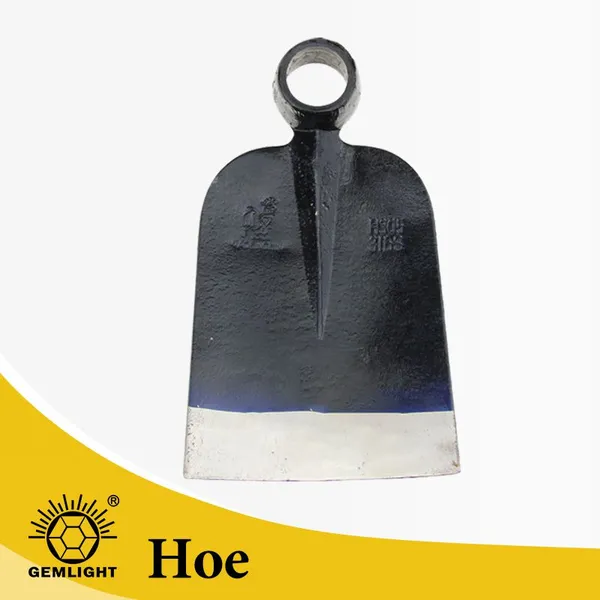
Sturdy Rail Steel Hoe for Weeding, H305 Perfect for Agricultural and Garden TasksUS$ 1.07 - 1.27MOQ: 1200 Pieces
-
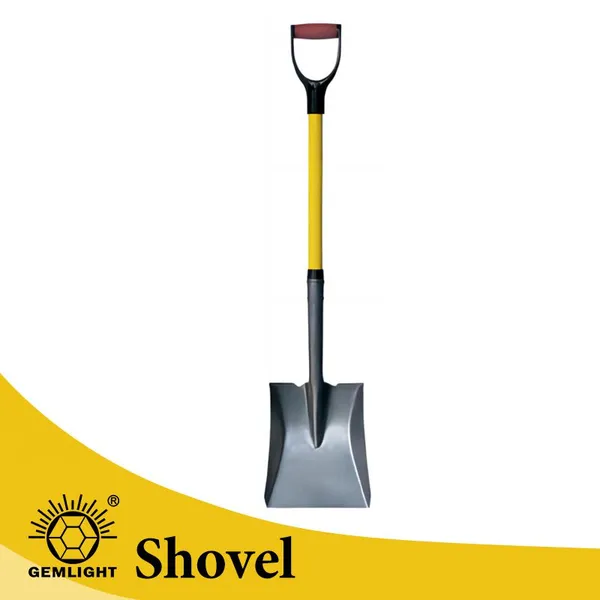
Heavy Duty Manganese Steel Garden Shovel Round Point Digging Shovel With Wooden Handle Farm Tool SupplierUS$ 2.14 - 2.36MOQ: 1200 Pieces
-
Big Shovel Wide Shovel Mud Shovel Heavy Duty Steel Blade for Farm Drainage Soil Moving Cleaning and Landscaping UseUS$ 2.14 - 2.36MOQ: 1200 Pieces

-
Strong Teeth Soil Rake for Farm Tool Suppliers Private Label Export for Farm Maintenance African Distribution Factory Bulk OrderUS$ 0.88 - 1.35MOQ: 2000 Pieces
-
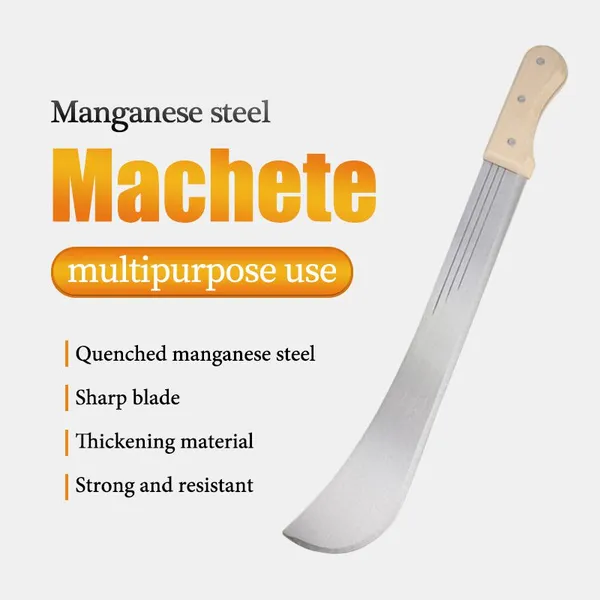
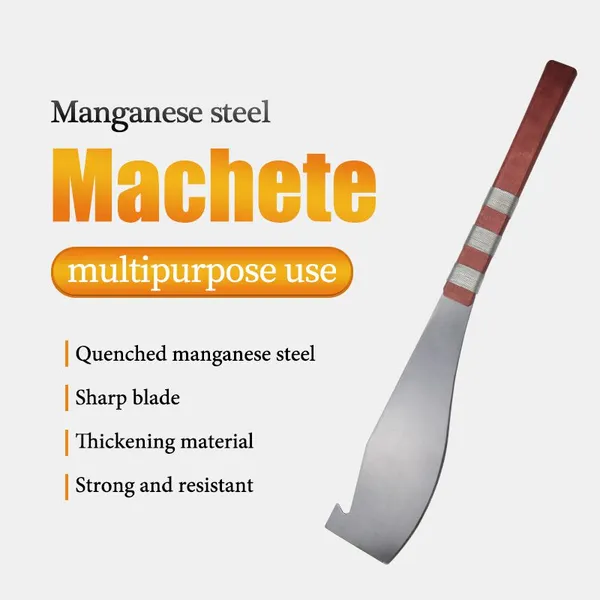
Manual Cane Knife Machete for Wholesale Buyers Factory Direct Export for Rural Agricultural Projects Durable Hand ToolNegotiableMOQ: 1200 Pieces
-
Large High Carbon Steel Machete Knife Agricultural Machete for Farming Bush Cutting Garden Tool SupplierNegotiableMOQ: 1200 Pieces
-
Wholesale Heavy Duty Pick Mattock for Mining Road Work and Farm Digging for Wholesale Tool Dealers With Bulk Order ServiceUS$ 1.85 - 2.3MOQ: 1200 Pieces
-
Carbon Steel Manual Pickaxe for Hard Soil Breaking and Trenching for African Importers With OEM Bulk Order Support Agricultural ToolUS$ 1.85 - 2.3MOQ: 1200 Pieces

-
OEM Farm Sickle With Sharp Blade for African Importers OEM Bulk Order Support for Harvesting and Smallholder Farming for Wholesale BUS$ 0.28 - 0.33MOQ: 3000 Pieces
-
Heavy Duty Manganese Steel Round Point Shovel Garden Digging Shovel With Wooden Handle Agricultural Tool ManufacturerUS$ 2.14 - 2.36MOQ: 1200 Pieces
-
Farm Shovel Factory Supply for Regional Import Distributors Bulk Wholesale Supply for Garden Work and Trenching for Agricultural DealersUS$ 2.14 - 2.36MOQ: 1200 Pieces
-
Heavy Duty Garden Rake for African Importers OEM Factory Supply for Agricultural Use African Market Factory Bulk OrderUS$ 0.88 - 1.35MOQ: 2000 Pieces
-
Agricultural Soil Rake for Agricultural Dealers Export Supply for Garden Cleaning African Dealer Channels Factory Bulk OrderUS$ 0.88 - 1.35MOQ: 2000 Pieces

-
Manual Farm Machete for African Importers OEM Factory Supply for Farming and Land Clearing Durable Hand ToolNegotiableMOQ: 1200 Pieces
-
Large Heavy Duty Carbon Steel Garden Landscaping Digging HoeUS$ 1.07 - 1.27MOQ: 1200 Pieces
-
Heavy Duty Rail Steel Mattock Pick Axe With Wooden Handle for Digging Soil Mining and Agricultural Tool SupplierUS$ 1.85 - 2.3MOQ: 1200 Pieces
-
Forged Farm Sickle With Sharp Blade for African Importers OEM Bulk Order Support for Harvesting and Smallholder Farming for WholesalUS$ 0.28 - 0.33MOQ: 3000 Pieces
-
Strong Carbon Steel Farming Sickle for Uganda Tanzania Zambia Agricultural Tool DistributorsUS$ 0.34 - 0.47MOQ: 3000 Pieces