
 Business License

Boot Sample Approval Checklist for Importers
Boot Sample Approval Checklist for Importers
The pre-production sample is the cheapest part of your order and the most important one.
Approve it carelessly and every later argument is about what you agreed. Approve it properly and bulk production has a reference.
This is the checklist we use when a buyer approves a gumboot or safety boot sample with us.
Which measurements, weights and hardness must be recorded?
Start with a scale and a tape measure. Nothing here needs a laboratory.
Weigh each boot separately and write both numbers down. A pair that differs by more than five percent has a compound problem.
Measure shaft height at the back, from the top edge to the heel seat. Do the same on the left and right.
Measure the top opening width, the ankle width and the calf width at the height you sell.
Measure sole thickness at the heel and at the ball. Measure the toe spring on a flat table.
Record the length of the outsole and the width at the widest point.
Write every number with its unit. Millimetres are safer than centimetres for a factory.
Then compare the numbers with the spec sheet. Differences above tolerance need a written explanation.
Weigh the pair again after a full water test. Water absorbed into a lining shows up as grams.
A Shore A durometer costs little and settles most arguments about softness.
Take three readings on the shaft, three on the sole and three on the heel. Write down the average.
For a gumboot shaft, most agricultural models sit in a middle range. Too soft means it folds at the ankle.
Too hard means it cracks at the flex point in cold weather.
For a safety boot outsole, hardness affects slip resistance and wear. Ask the factory for their target range.
Then smell the sample. A sharp solvent smell means the compound was not fully cured.
Bend the shaft and look for whitening along the crease. Whitening on a new sample is a bad sign.
Cut one sample boot in half at the end of the approval. Buyers who do this once never skip it again.
Look at the wall thickness, the lining bond and the sole cavity. Air bubbles mean a moulding problem.
Photograph the cut section next to a ruler. It is the most persuasive evidence you will ever hold.
How do you test flexing, adhesion and waterproofness in-house?
Flexing is the test that predicts returns. You can run it without equipment.
Hold the boot at the toe and heel and bend the flex point through its full range. Do it two hundred times.
Then look at the crease under a bright light. A fine line is normal. A visible crack is not.
For adhesion, find the joint between the upper and the sole on a safety boot.
Press a blunt blade into the joint line and try to lift it. It should resist without peeling.
Do the same at the shaft-to-sole joint on a moulded gumboot.
For waterproofness, fill the boot with water and stand it in a dry tray for two hours.
Check the tray and the outside of the boot. Any damp patch marks the failure point.
Then hang the boot and let it dry at room temperature. Do not use heat.

What belongs on the sample approval form?
The form is what protects you eight weeks later. Keep it to one page and make it specific.
Write the model code, the colour code and the size you approved.
List every measurement with the approved value and the allowed tolerance.
List the compound, the lining, the toe cap and the outsole material by name.
Note the logo method and position, with a photo of the placement.
Note the packing: poly bag thickness, hangtag, box size, barcode position.
Add the standard claimed, the certificate number and the test report date.
Then add twenty pairs of photos: overall, flex point, joint, label, packing.
Both sides sign and date the form. It becomes an annex to the purchase order.
How should you seal and store the approved sample?
Seal the approved pair in a clear bag and tape the opening shut.
Write the date, the purchase order number and the signer's name on the bag.
Keep one pair at your office and ask the factory to keep an identical pair on site.
Store them away from sunlight and heat. A sample that ages in a warm room proves nothing.
Take a photo of the sealed bag and the label. Send it to the factory the same day.
Before each shipment, compare the inspection photos with the sealed sample.
If the bulk differs, the conversation is now about a document, not about memory.
Replace the sealed sample only when you approve a new version.
Sample approval checklist to send with the parcel
Paste this list into your email and ask the factory to answer each line.
Model code, colour code and approved size
Weight per boot, left and right, in grams
Shaft height and top opening width in millimetres
Sole thickness at heel and ball
Shore A hardness on shaft, sole and heel
Flex test result after two hundred cycles
Upper-to-sole adhesion check result
Water fill test result after two hours
Compound name and supplier
Lining and insulation specification
Toe cap material and impact rating
Logo method, position and size
Packing format, carton size and pairs per carton
Standard claimed and test report reference
Signed approval form and date
Approve one sample properly and you stop paying for the same mistake on every shipment.
Recently Posted
-
Boot Lining Guide for Cold and Hot Climate Markets
November 5, 2026Boot Lining Guide for Cold and Hot Climate MarketsLining is the part of the boot nobody photographs and everybody feels.It decides Read More
-
Gumboot Size Chart: EU, UK and US Conversion
November 5, 2026Gumboot Size Chart: EU, UK and US ConversionSize is the cheapest thing to fix and the most expensive thing to get wrong.A return c Read More
-
Boot Outsole Guide: Nitrile, PU and Rubber Compared
November 5, 2026Boot Outsole Guide: Nitrile, PU and Rubber ComparedThe upper sells the boot. The outsole decides whether the customer buys again.M
Read More -
Steel Toe vs Composite Toe Boots: Which to Import
November 5, 2026Steel Toe vs Composite Toe Boots: Which to ImportBoth caps pass the same impact test. Both protect at 200 joules. The difference i Read More

Contact Us
Recommended Products
-
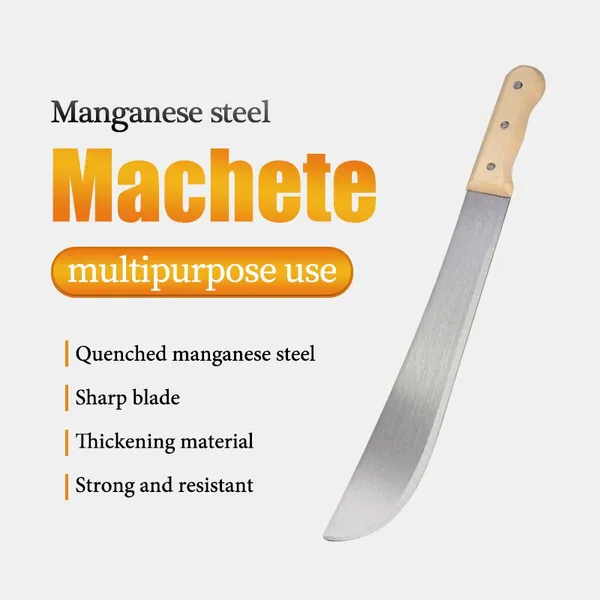
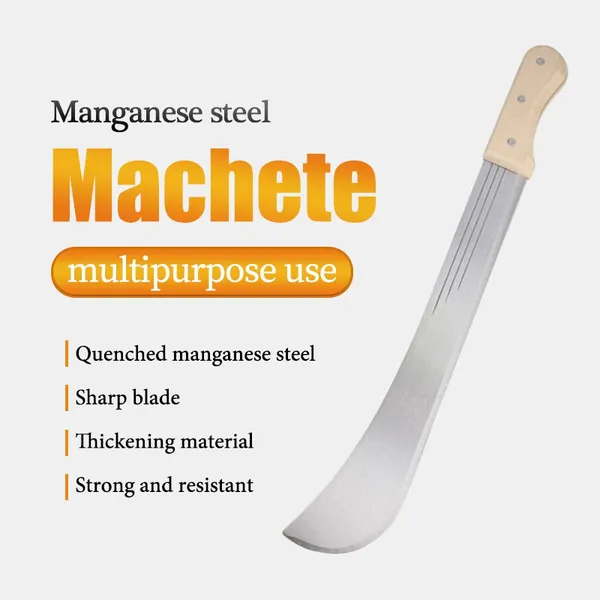
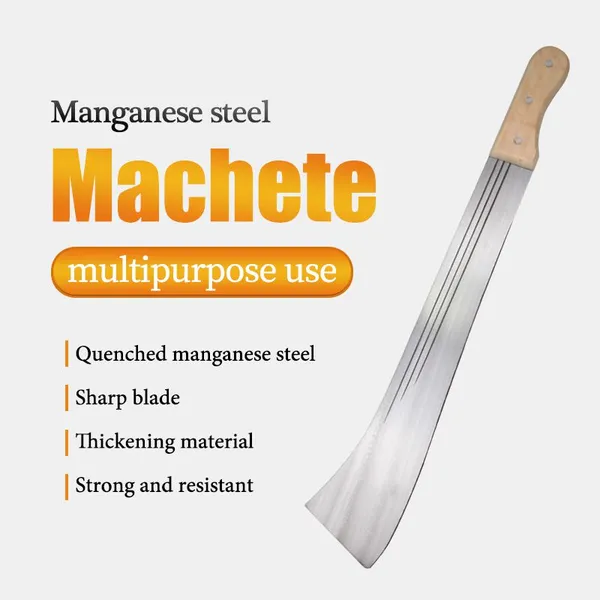
 Heavy Duty Cane Knife Machete for Wholesale Buyers Factory Direct Export for Rural Agricultural Projects Durable Hand ToolNegotiableMOQ: 1200 Pieces
-
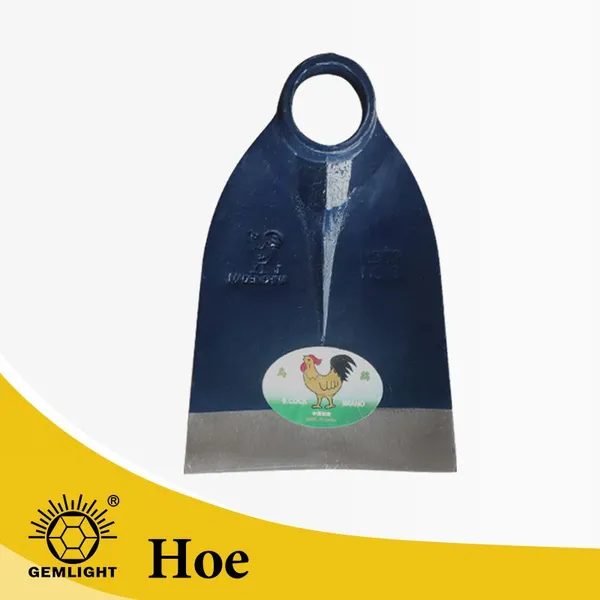
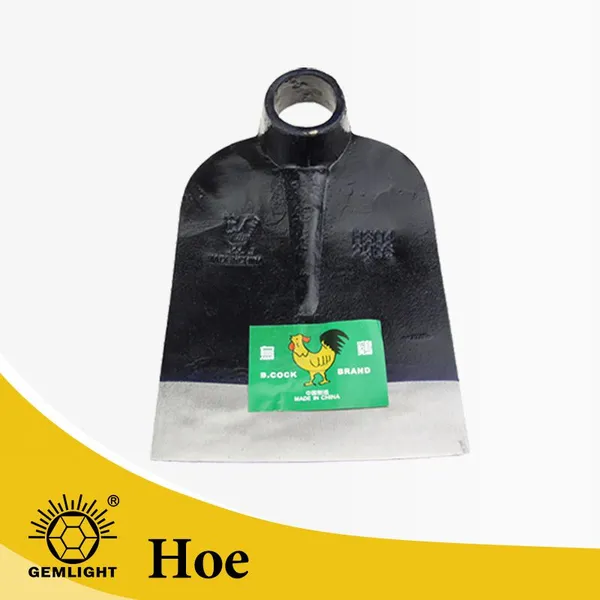
Agricultural Hoe Head Garden Rail Steel Tool for Tough Soil Cheap Price Hand ToolsUS$ 1.07 - 1.27MOQ: 1200 Pieces
-
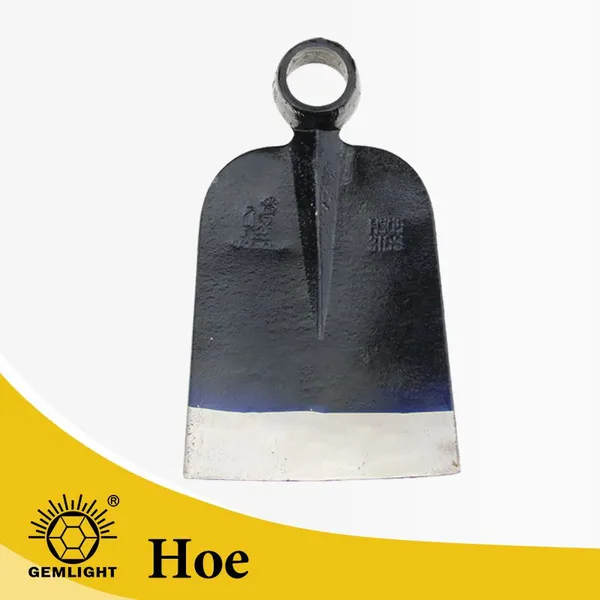
Sturdy Rail Steel Hoe for Weeding, H305 Perfect for Agricultural and Garden TasksUS$ 1.07 - 1.27MOQ: 1200 Pieces
-
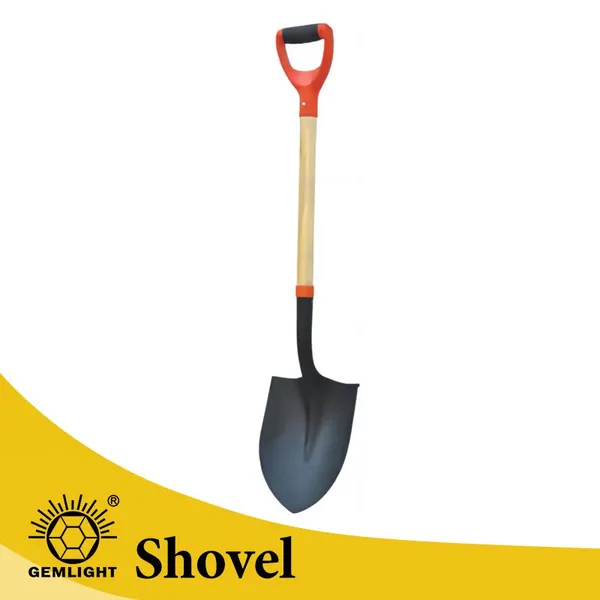
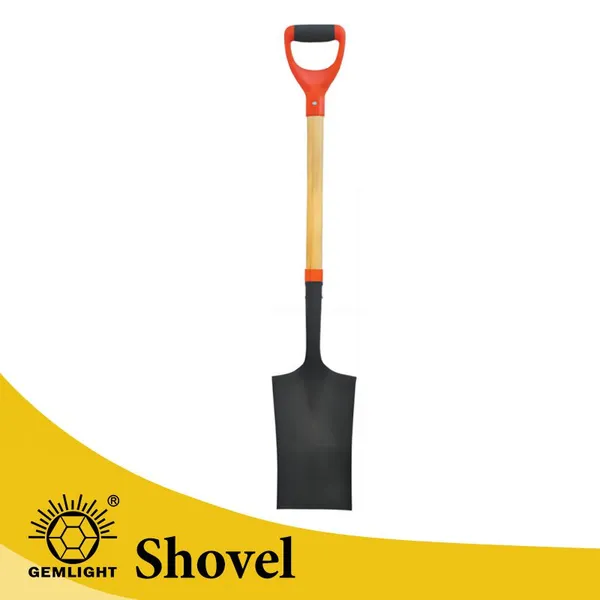
Heavy Duty Manganese Steel Garden Shovel Round Point Digging Shovel With Wooden Handle Farm Tool SupplierUS$ 2.14 - 2.36MOQ: 1200 Pieces
-
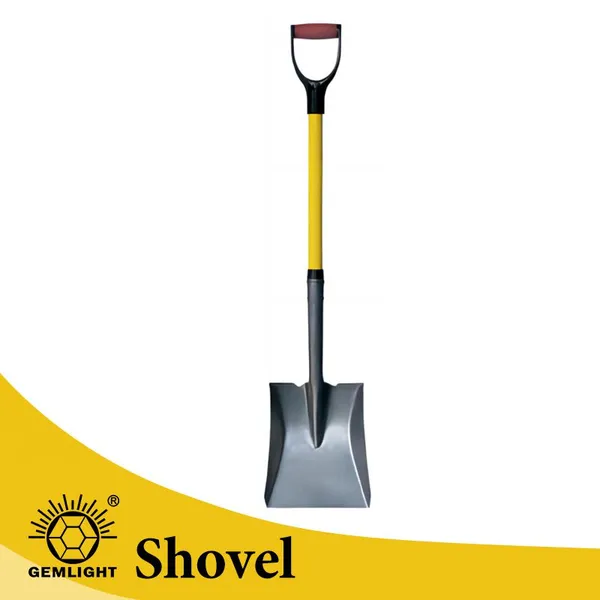
Big Shovel Wide Shovel Mud Shovel Heavy Duty Steel Blade for Farm Drainage Soil Moving Cleaning and Landscaping UseUS$ 2.14 - 2.36MOQ: 1200 Pieces
-
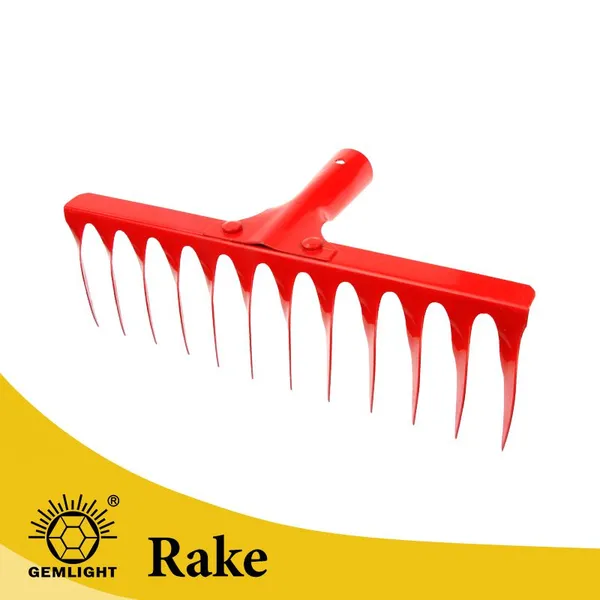
Strong Teeth Soil Rake for Farm Tool Suppliers Private Label Export for Farm Maintenance African Distribution Factory Bulk OrderUS$ 0.88 - 1.35MOQ: 2000 Pieces
-
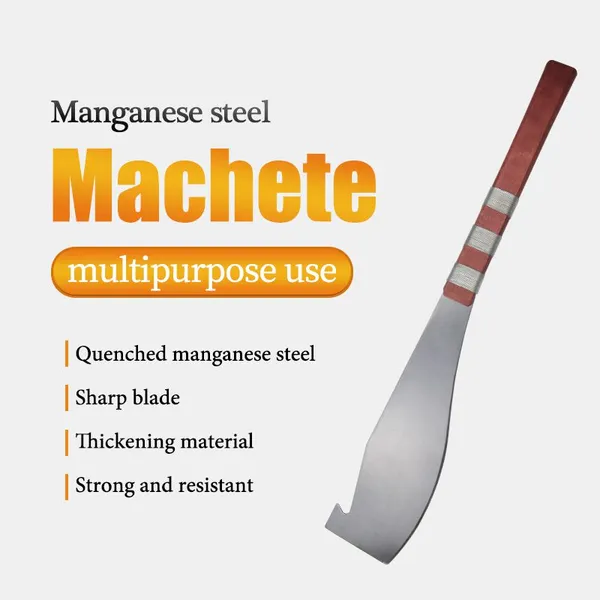
Manual Cane Knife Machete for Wholesale Buyers Factory Direct Export for Rural Agricultural Projects Durable Hand ToolNegotiableMOQ: 1200 Pieces
-
Large High Carbon Steel Machete Knife Agricultural Machete for Farming Bush Cutting Garden Tool SupplierNegotiableMOQ: 1200 Pieces
-
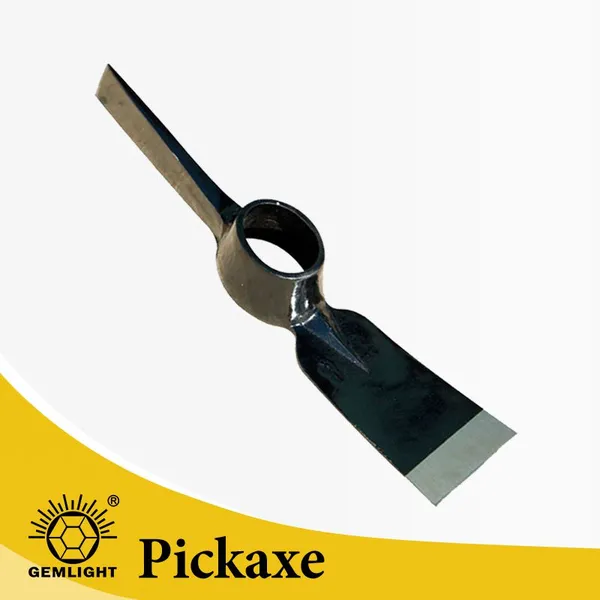
Wholesale Heavy Duty Pick Mattock for Mining Road Work and Farm Digging for Wholesale Tool Dealers With Bulk Order ServiceUS$ 1.85 - 2.3MOQ: 1200 Pieces
-
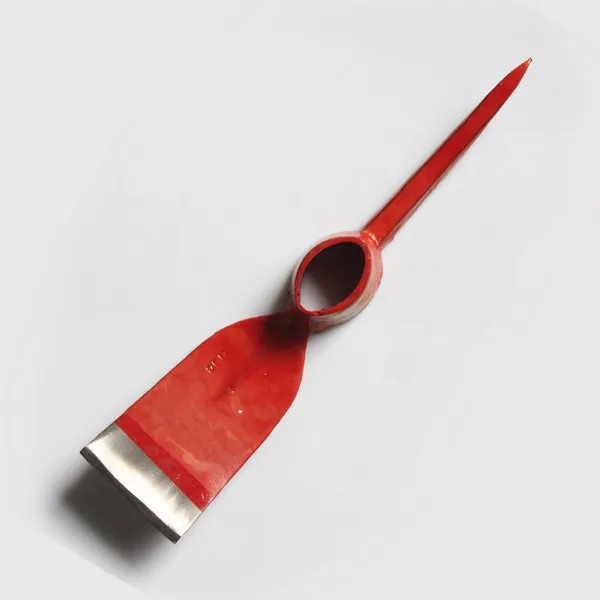
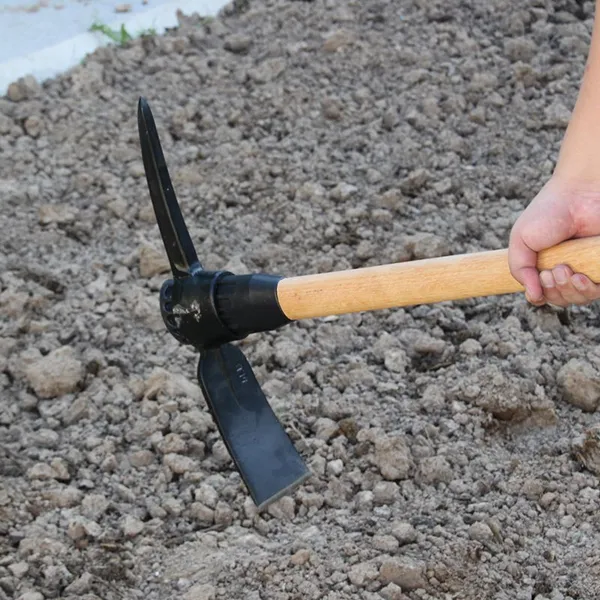
Carbon Steel Manual Pickaxe for Hard Soil Breaking and Trenching for African Importers With OEM Bulk Order Support Agricultural ToolUS$ 1.85 - 2.3MOQ: 1200 Pieces

-
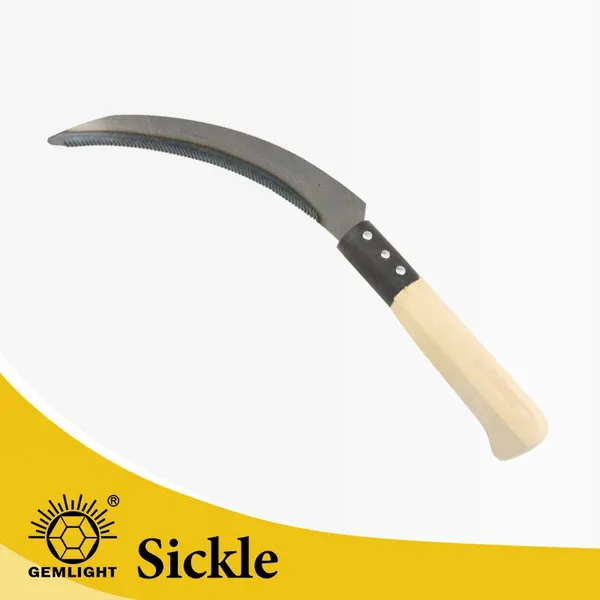
OEM Farm Sickle With Sharp Blade for African Importers OEM Bulk Order Support for Harvesting and Smallholder Farming for Wholesale BUS$ 0.28 - 0.33MOQ: 3000 Pieces
-
Heavy Duty Manganese Steel Round Point Shovel Garden Digging Shovel With Wooden Handle Agricultural Tool ManufacturerUS$ 2.14 - 2.36MOQ: 1200 Pieces
-
Farm Shovel Factory Supply for Regional Import Distributors Bulk Wholesale Supply for Garden Work and Trenching for Agricultural DealersUS$ 2.14 - 2.36MOQ: 1200 Pieces
-
Heavy Duty Garden Rake for African Importers OEM Factory Supply for Agricultural Use African Market Factory Bulk OrderUS$ 0.88 - 1.35MOQ: 2000 Pieces
-
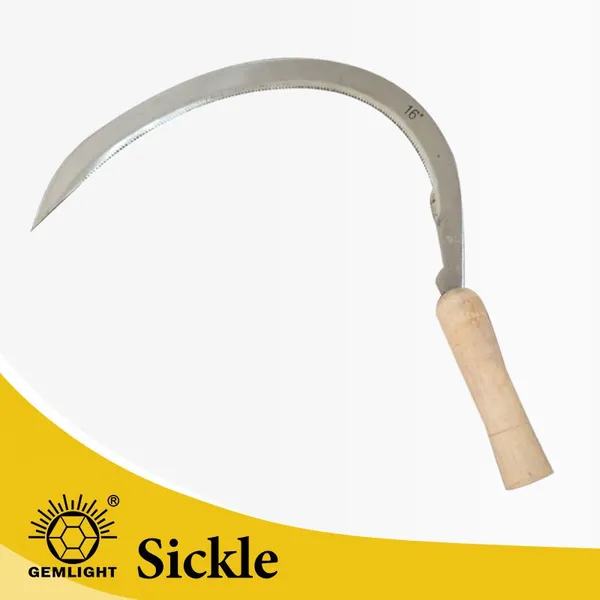
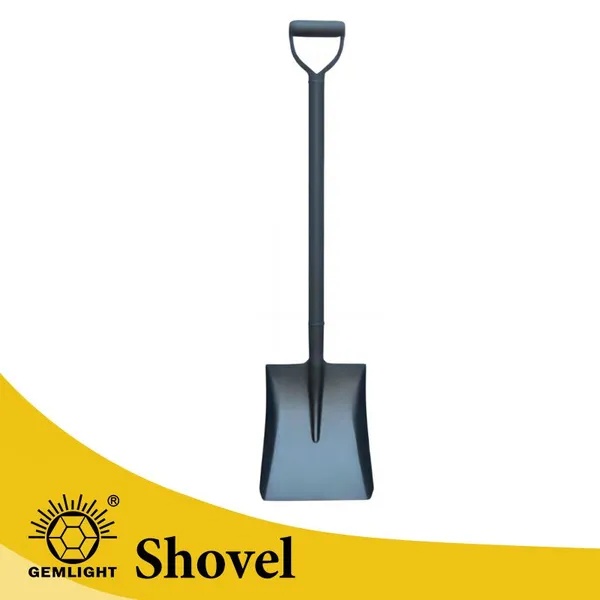
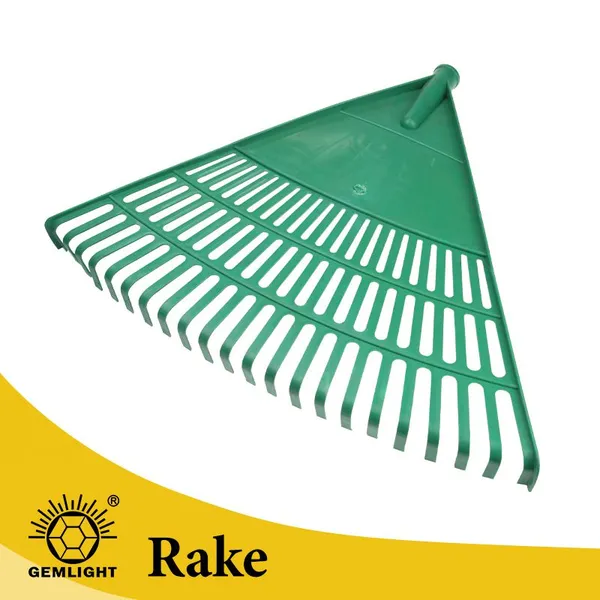
Agricultural Soil Rake for Agricultural Dealers Export Supply for Garden Cleaning African Dealer Channels Factory Bulk OrderUS$ 0.88 - 1.35MOQ: 2000 Pieces
-
Manual Farm Machete for African Importers OEM Factory Supply for Farming and Land Clearing Durable Hand ToolNegotiableMOQ: 1200 Pieces
-
Large Heavy Duty Carbon Steel Garden Landscaping Digging HoeUS$ 1.07 - 1.27MOQ: 1200 Pieces
-
Heavy Duty Rail Steel Mattock Pick Axe With Wooden Handle for Digging Soil Mining and Agricultural Tool SupplierUS$ 1.85 - 2.3MOQ: 1200 Pieces
-
Forged Farm Sickle With Sharp Blade for African Importers OEM Bulk Order Support for Harvesting and Smallholder Farming for WholesalUS$ 0.28 - 0.33MOQ: 3000 Pieces
-
Strong Carbon Steel Farming Sickle for Uganda Tanzania Zambia Agricultural Tool DistributorsUS$ 0.34 - 0.47MOQ: 3000 Pieces